Adding a new product to your online store
Follow the steps below to add a product to your store's website.
 If your store is on Greenline or Cova, you cannot add products using Breadstack. You'll need to add them in Greenline or Cova.
- Go to Products > Add New Product.
- Adjust the Publish Settings:
- Status - Choose whether this product entry will save as a draft or be immediately published on your website.
- Check Schedule Publish Date if you want Breadstack to automatically push the product live on your site on a certain date/time.
- Visibility - Select "Public" if you want customers to be able to see this product on your website. If you select "Private", the product will not appear on your website, but you'll still be able to manage it in Breadstack.
- Catalog Visibility - Control whether your product page is Hidden (i.e. accessible only via direct URL) or visible in search results and category pages.
- Featured Product - Enable this to give your product special prominence on your site. Exactly where and how it will be displayed depends on your store's theme in WooCommerce.
- Fill out your product's Basic Information:
- Product Name - Enter this as you want it to appear on your site.
- Product Type - Your selection here may open up additional fields.
- Simple product - This is a basic product without variations or customizations.
- Variable product - This product comes in multiple versions (e.g. sizes or colours). Learn the process for creating a variable product.
- Composite product - This is a "build-your-own" product. Customers can choose and add parts (i.e. other products) to customize it. Learn the steps for creating a composite product.
- Add a Main Description and Short Description. Exactly where and how these show up will depend on your WooCommerce theme.
- Add a URL handle that matches your product name.
- (Optional) If you want to manage inventory for this product, you can either do this entirely with Breadstack, or sync stock information from WooCommerce.
- To manage inventory in Breadstack, check Track Quantity under Inventory.
- Note that if you've checked Track Quantity, you'll need to link this product to a corresponding product entry from the Inventory module. Learn how to create an inventory product.
- Enter the SKU of the corresponding inventory product, and choose one of the options under Allow Backorders?
- Set Pricing details for the product. Be sure to select the correct Tax Class. Learn how to manage tax classes.
- Set Shipping details, including a Shipping Class. Learn about creating and managing shipping classes.
- Add a Product Image.
- Set Linked Products. These are products that appear as upsells and cross-sells for this product.
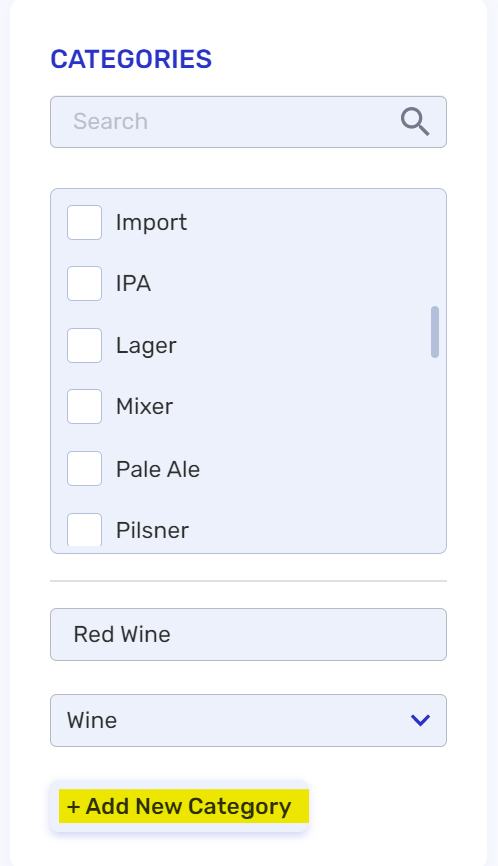
- Under Categories, choose a category for your product. You can create and organize categories in the category management section. Or, create a new category straight from here by entering a Category Name, choosing a Parent Category (Optional), and clicking + Add New Category.
10. Select Tags from your list of created tags.
11. Click Save. You'll see your product appear in the All Products list. If you made the product Public and set it to Published, you'll see it on your website.
Related Articles
Adding a new website channel
In Breadstack, "Channels" represent linked websites - for example, if you operate two online stores, each would have its own channel. You can further segment each channel into Departments. There are two phases to adding a new channel: (1) Linking ...Adding a new customer account
Breadstack automatically logs information about customers when they provide an email address (either in person at a physical store, or while creating an online store account). However, you can manually create a new account for a customer in the ...Adding a new user
You can add a new user to your Breadstack organization (or a specific store) by creating a user profile and generating an email invitation. Go to Settings > Users. Click +Invite New User. Fill in your new user's First Name, Last Name, and Email. If ...Adding an inventory product
Breadstack's Inventory module lets you track product stock availability, and manage adjustments and transfers between warehouses. Please note that If your store uses Greenline or Cova, you cannot manage inventory in Breadstack. The below process ...Creating a new order
To place an order for a customer, go to Orders > Add New Order. Fill in the information by section, as follows, then click Save in the upper right corner. If your store is on Greenline or Cova, please use these platforms to create new orders, not ...